Homemade English Muffins

I've been waiting to make english muffins for quite a few weeks and finally this weekend seemed like the right time. I tend to have an english muffin every workday morning as part of my second breakfast. Yes, that's true. The world begins to collapse around me when I miss meals during the workday ... including my second breakfast.
There is nothing more satisfying around 10 am than a nicely toasted carb delight with some butter ... and peanut butter. Don't judge. Although there is a place in my neighborhood that makes a killer breakfast sandwich on the SANDWICH size english muffin ... and obviously bigger is better.
So, when I set out to make these babes this weekend ... I knew that I was going to target some big ole english muffins. I also knew that I had no idea whether or not they'd be successful. But in the spirit of attempting to make things that I like to buy ... I was going to give it a go.
End result? Successful. Tasty. Not complicated.
The slightly weird part? Homemade english muffins don't get super toasted. You know all those nooks and crannies that we love ... and how the peaks get toasty brown? It doesn't happen here. I have no idea why... maybe because they are so fresh?
When I was doing a little bit of research on these suckers, I learned that the toasting thing is rumored to have come about as a way to make stale english muffins more appealing. While these suckers were pretty great immediately off the skillet (and into the toaster), they were equally great the next day... if not even better.
Regardless. A win.
Here's how it goes.
(Step 1) Combine the butter and sugar in a small sauce pan, stirring to dissolve the sugar.


(Step 3) Combine the flour and salt in mixing bowl. Add the milk mixture and stir till it’s all well combined.

(Step 4) Cover and set aside for 1-1/2 hours. This waiting was sheer torture. All I wanted was english muffins.
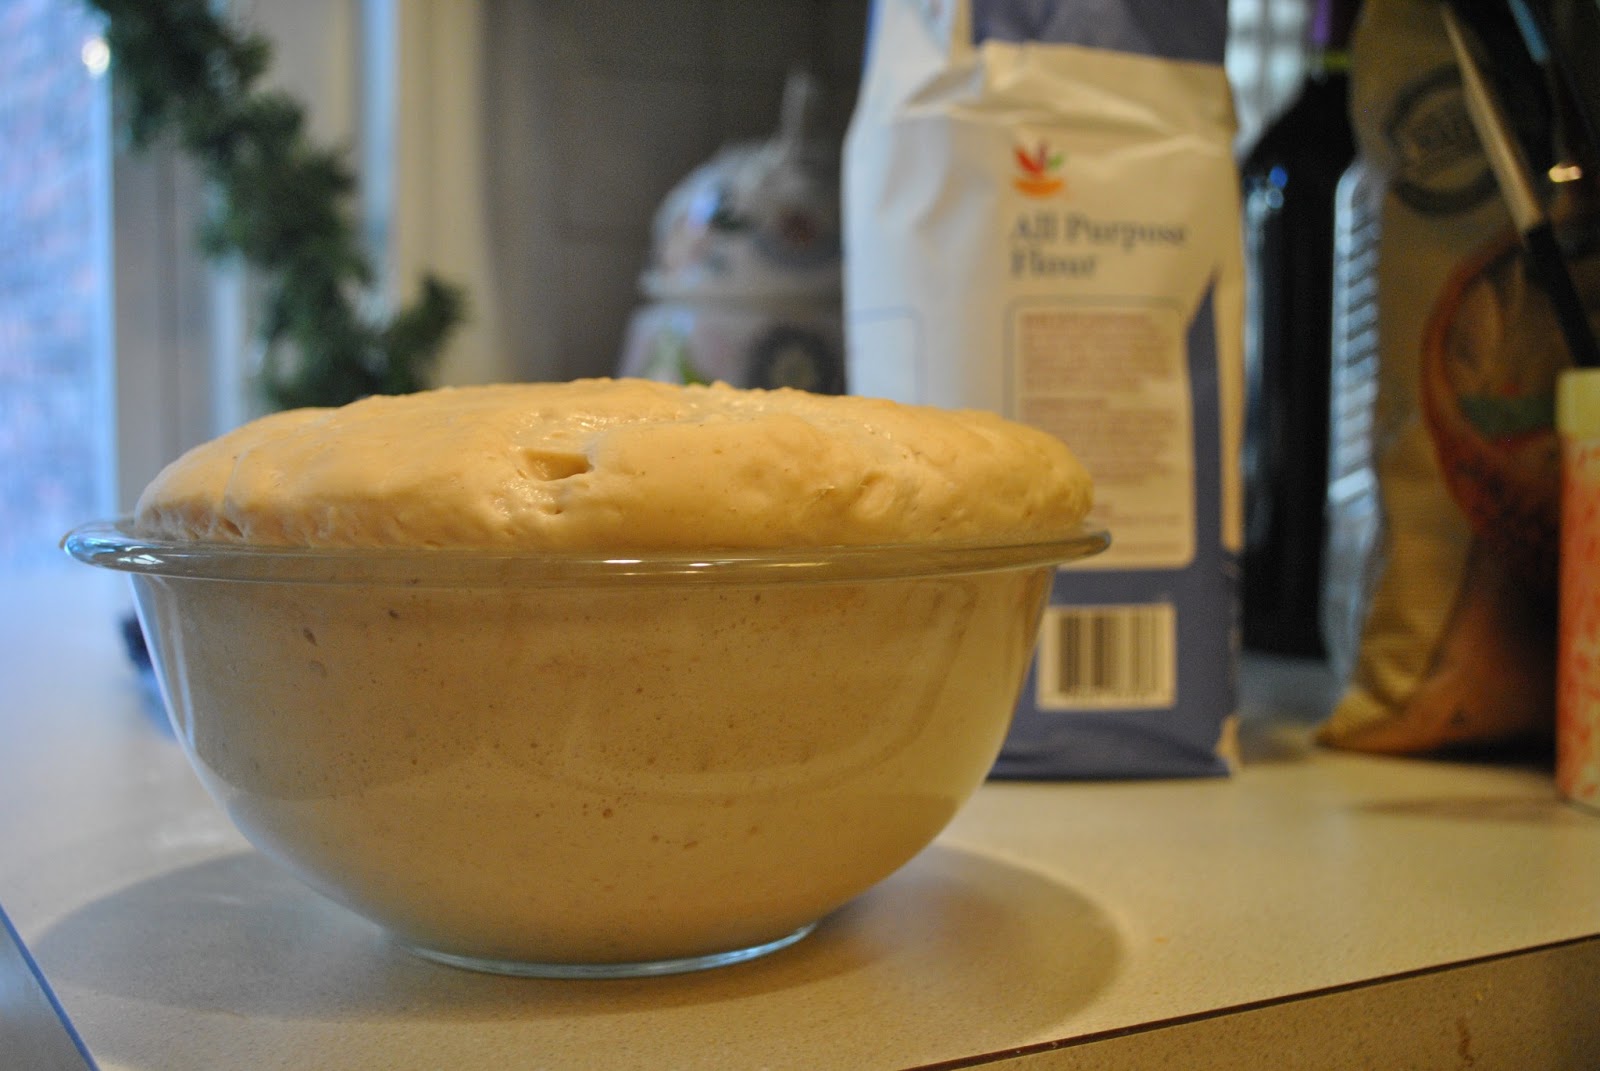
(Step 5) Stir the dissolved baking powder into the batter.

(Step 6) Dust the griddle or skillet with corn meal. Scoop-pour about 1/3-cup portions onto the griddle, free form or in rings. The rings seem dumb. Go free form ... and go big.


(Step 8) Allow them to rest for at least 10 minutes, pry in half with a fork, toast and serve as your heart desires.

Adapted from this recipe
Shopping List
2 ounces butter
1 tablespoon sugar
2 cups milk
1 package active dry yeast (1-1/2 teaspoons)
1 large egg, beaten
3 cups all-purpose flour
1-1/2 teaspoon kosher salt
2 teaspoons baking powder dissolved in 1 tablespoon of water
cornmeal for dusting
No comments
Post a Comment